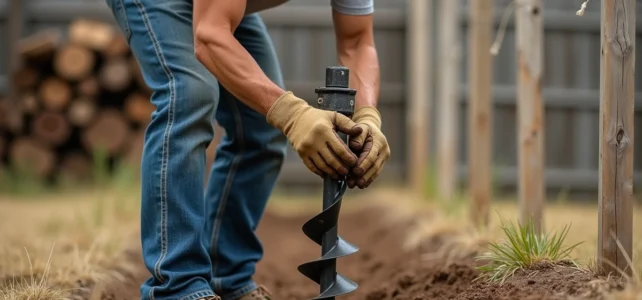
Installing a fence always starts with the same action: digging. The quality of the hole determines the stability of the post for years. However, the choice of technique depends not only on the soil or the tool. Winter frost, drainage at the base of the post, and the type of wood used radically change the method to adopt.
Frost, drainage, and wood: three constraints that dictate the digging technique
Most guides focus on the type of soil (clay, sandy, rocky) or the tool (auger, spade, pickaxe). These criteria matter, but they are not enough.
Do you live in an area where the ground freezes in winter? The hole must go below the frost line, otherwise the post will lift over the freeze-thaw cycles. In mountainous areas or northern France, this means digging significantly deeper than in an oceanic climate.
Drainage is the second overlooked factor. A wooden post placed in a hole that retains water will rot in a few years, regardless of the wood species chosen. The solution: place a layer of compacted gravel at the bottom of the hole before sealing. This layer prevents capillary rise and drains rainwater that seeps along the post.
As for the wood, an untreated stake planted in damp soil lasts between three and five years. To learn how to dig a hole for a fence post considering these parameters, you need to adapt the depth, diameter, and sealing method to each situation.
Concrete sealing of fence posts: the technical gesture that tutorials forget
Pouring concrete around a post seems simple. Mix, pour, wait. In practice, poorly executed sealing traps moisture and weakens the whole structure.
Before pouring, place a layer of draining gravel at the bottom of the hole and compact it. This detail protects the base of the post from standing water and significantly extends its lifespan, much more than a stain or surface treatment.
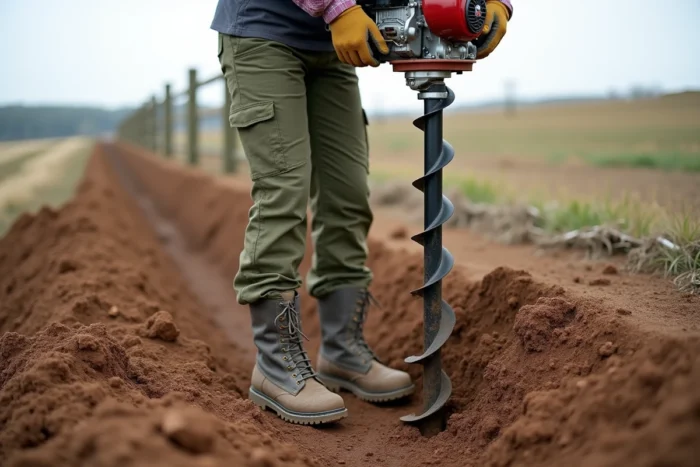
Pour the concrete in two successive passes. Between each pass, poke the concrete with a metal rod (a rebar or a scrap piece of metal will suffice). This action releases trapped air bubbles in the mix. Concrete vibrated this way is denser and better withstands tensile forces and wind pressure.
Keep the post vertical with temporary braces (cross-nailed battens or clamps) during the entire setting time. Check the plumb with a level on two perpendicular faces. A post that leans a few degrees at the time of pouring will remain tilted forever.
Surface shape of the sealing
Create a slight dome of concrete around the post at the surface, sloping outward. This way, rainwater flows away from the base instead of stagnating at the wood-concrete junction, which is the most vulnerable area.
Choosing between manual, thermal, and battery augers for digging your holes
The tool depends on the number of holes and the nature of the terrain. Here’s a concrete guideline for choosing:
- Manual auger: suitable for about ten holes in loose soil. No motor, no noise, low budget. It reaches about one meter deep with extensions. In clay or rocky soil, the effort quickly becomes exhausting.
- Thermal auger: the reference for compact, clayey, or stony soils. It drills quickly and evenly. Weight and noise are its limitations, but it remains the most versatile choice for a complete fencing project.
- Battery auger: recent consumer models now offer sufficient depth and consistency for standard fences, with much less physical effort than a manual auger. Less powerful than a thermal auger on very hard ground, it works well in standard residential terrain.
For rocky soil, no auger works miracles on its own. It often requires alternating with a digging bar to break up stones, then returning to the auger. Several short passes are better than forcing it, which risks bending the bit.
Depth and diameter of the hole: the one-third rule and its limits
The classic rule states to bury one-third of the total length of the post. For a standard fence post visible at one meter twenty, this implies a hole of about sixty centimeters.
This rule works in temperate climates and stable soil. It is not sufficient in two specific cases:
- In areas with pronounced frost, the base of the sealing must be below the local frost depth, which may require digging deeper than the theoretical third.
- In very loose soil (sand, recent fill), widen the diameter of the hole to increase the anchoring surface of the concrete. A wider hole compensates for soil that offers little lateral resistance.
- For a corner or gate post, subjected to greater forces, increase the depth by at least a quarter compared to a line post.
Diameter suitable for the type of post
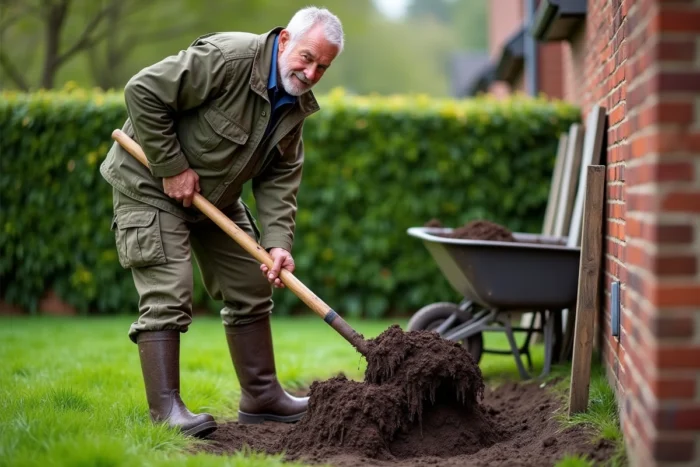
Plan for a hole diameter that leaves at least ten centimeters of concrete all around the post. A hole that is too tight does not allow the concrete to properly encase the base and reduces the mechanical stability of the whole.
Protecting the base of the wooden post: the most underestimated durability factor
Protecting the base of the post from standing water determines the lifespan of the fence more than the wood species or the stain applied. A class 4 pine post placed in a permanent water basin will degrade faster than a properly drained standard wood post.
After sealing, add gravel or a small draining slab at the base of the post, on the outside. This action prevents mud from accumulating against the wood and keeps the base aerated. On sloped terrain, direct the drainage down the slope so that water never rises towards the post.
This type of finishing takes a few minutes per post. On a standard garden fence, it can double the lifespan of wooden posts without notable extra cost. Good drainage is better than an expensive chemical treatment applied to a post that is soaking in moisture.