
After a major update of Windows 10, you often come across a folder named ESD at the root of the C drive. It can weigh several gigabytes, with no visible explanation. Understanding its role can help avoid risky deletion or, conversely, recover valuable disk space when it is no longer needed.
ESD Folder After Windows 10 Update: Should It Be Deleted?
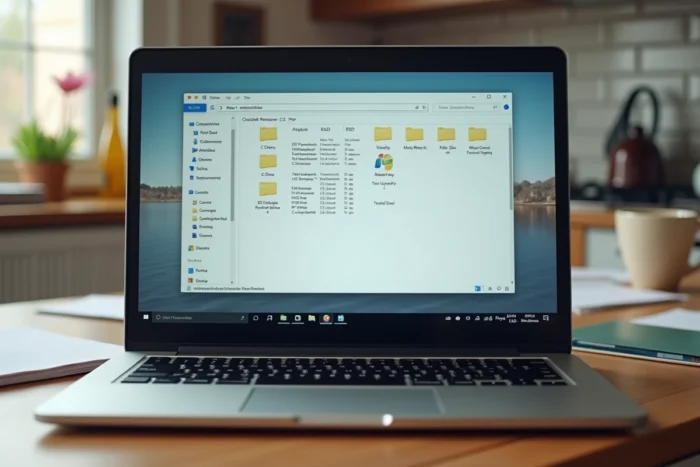
The classic scenario: you check the disk space after an upgrade (for example, from version 1803 to a later version), and a folder C:ESD or C:Windows10Upgrade appears. It contains installation files compressed in .esd format, used during the upgrade process to apply the new system image.
Once the update is complete and the system is stable, these files are no longer needed for booting or regular recovery. On Microsoft forums, contributors confirm that the Windows10Upgrade folder created by the update process can be deleted via File Explorer. Users also document the automatic disappearance or manual deletion of large ESD folders after a few days, with no impact on stability.
Before deleting, two things should be checked. First, that the update has been successfully completed (restart performed, version confirmed in Settings > System > About). Second, that the folder does not contain an install.esd file still referenced by the Windows recovery environment.
If the folder is empty, as several users report on the forums, deleting it poses no problem. To learn more about how this directory works, you can check the ESD folder on Journal du Webmaster which details common scenarios.
ESD File and WIM File: What’s the Difference for a Windows Installation?
The ESD (Electronic Software Download) format is a more compressed version of the WIM (Windows Imaging) format. Both store a complete system image, but their usage differs depending on the context.
An ESD file is optimized for distribution, particularly via Windows Update or public download ISOs. Its compression significantly reduces the size compared to WIM. In return, it is not directly usable by enterprise deployment tools like MDT or WDS, which expect an install.wim file.
The WIM file, on the other hand, allows for mounting, driver injection, and offline customization with DISM. It is the working format for system administrators preparing custom images. Converting an ESD to a WIM is done via DISM in command line, with a prior step of listing the indexes to identify the exact edition (Home, Professional, Education).
When to Convert an ESD to WIM with DISM
The conversion is justified in specific situations:
- You are preparing a network deployment via WDS/MDT and the only available file is an install.esd extracted from a Microsoft ISO
- You want to inject specific drivers or offline updates into the image before installation
- You need to export a single edition of Windows from a multi-index ESD to lighten the final image
The typical command looks like this: you open a command prompt as administrator, use DISM /Export-Image specifying the source file, the desired index, and the destination path in .wim. The /Compress parameter allows you to choose between fast compression (fast) or maximum compression (max), depending on whether you prioritize speed or the size of the resulting file.
ESD Compatibility and Extended Windows 10 Updates
One point that conversion guides often overlook: the version of the ESD image must match the update level of the target system. With the end of standard support for Windows 10 and the arrival of Extended Security Updates (ESU), the ESD image used for repair or reinstallation must be at least version 22H2.
If you use an old ESD image (version 1909, 2004, or even 21H2) to reinstall the system, DISM or the repair process will not be able to align the system to a compatible ESU level. Feedback varies on this point depending on configurations, but the main risk is ending up with a system that no longer receives any security patches after reinstallation.
In practice, keep an up-to-date copy of the official Microsoft ISO (downloadable via the Media Creation Tool) to have an install.esd file aligned with the latest supported version. This is a simple precaution that avoids hours of troubleshooting later.
Cleaning ESD and Recovering Disk Space in Windows 10
The ESD folder is not the only one consuming space after an update. Several temporary directories accumulate and can be dealt with together.
- The folder C:$Windows.~BT contains the update preparation files and can be deleted via the built-in disk cleanup
- The folder C:Windows.old retains the old installation for ten days, then disappears automatically (or is deleted via Settings > Storage)
- The folder C:WindowsSoftwareDistribution stores files downloaded by Windows Update, and can be reset by stopping the wuauserv service before deleting the content
- The update cache in C:WindowsTemp grows over time and can be cleaned without risk
For the cleanest cleanup, use the built-in tool: Disk Cleanup (cleanmgr) launched as administrator, then check the box for “Temporary Windows installation files.” This method removes ESD remnants and upgrade files in one operation, without touching active system components.

Precaution Before Manual Deletion
Do not manually delete the folder C:Recovery or the .esd files referenced by the recovery environment (WinRE). To check if WinRE is active, the command reagentc /info in an administrator prompt indicates the location of the recovery image. If it points to a file in the ESD folder, it is better not to touch it.
The ESD folder in Windows 10 is nothing mysterious once you understand its lifecycle: created during the update, useful during the transition, deletable after confirmation. Keeping a recent ESD image in version 22H2 remains the best assurance for future repairs, especially as the end of support approaches.